 Download
Can't find the answer you're looking for? Don't worry we're here to help!
Contact UsRelated Articles
Tags:
#TimeTag is a very handy feature you can use to organise your notes.
In essence, #TimeTags are keywords, categories, or section titles that you can use to mark your notes, and tapping/clicking on them instantly brings up the information you need at its indexed time, bypassing the need to sit through the whole recording.
Add a #TimeTag
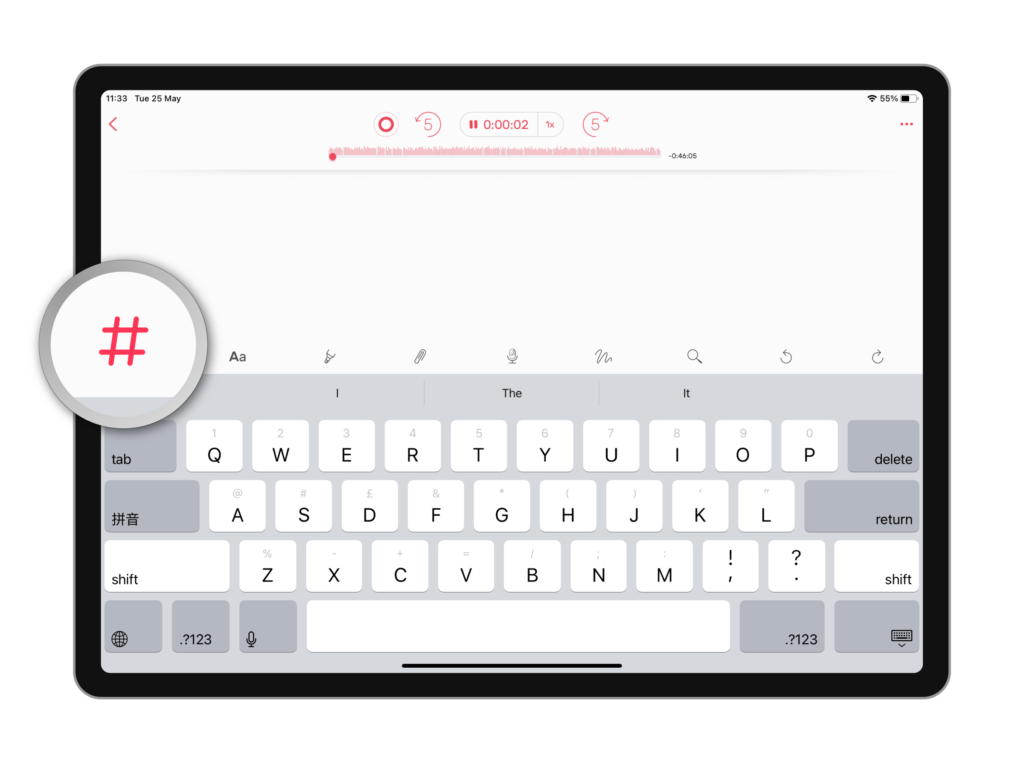
Toolbar: Select the # icon
Keyboard: Type # and start your tag keyword
Note: If you’re typing using Braille Screen Input, you need to enter a space or use the translate Braille command directly after inputting the hashtag and before writing the name of the tag in order for the tag to register.
Edit a #TimeTag
You can easily rename a #TimeTag just by selecting and editing it. If the #TimeTag is associated with a time, you can adjust it provided that it is a valid duration.
Adjust Time Offset
A key point can pass before there is a chance to tap #. Time Offset covers that gap.
It gives you better control over how far back in the recording you want to index the timestamp when you type and #TimeTag when you create it, so you don’t miss the important bits .
- iOS
- macOS
Settings > General > Time tag offset

Settings > Record > Time tag offset

Filter Notes by #TimeTag
In addition to using #TimeTag to mark key moments in a recording, you can also use it to filter through your notes and quickly find the information you need.
- iOS
- macOS
1. In Notedbooks view, tap the # icon at the top.
2. Scroll to find the #TimeTag you’re after, or perform a filter search using the search box.

Switch from Notesbooks tab to Tags tab, where you can see all your #TimeTags. Alternatively, you can use the search box along the toolbar to perform a quick search.

Can't find the answer you're looking for? Don't worry we're here to help!
Contact Us