Noted is a vast app with plenty of popular tools, sprinkled with a handful of hidden features that even the most avid users don’t know about. Join us as we go through five things you (probably) don’t know you can do on Noted that will change the way you take notes.
1. Swipe to Indent & Outdent
Introduced in version v3.2.3, swipe to indent and outdent is one of the most recent additions to our iPad and iPhone editor tools.
When you’re typing notes in a lecture and struggling to catch up to your fast-talking professor, the last thing you want to do is navigate the toolbar and look for a formatting tool, which can really break your note-taking flow. That’s why we created this new gesture, so you can add and remove indents to your notes on the fly. What’s more, it works for creating nested bullet and number lists too!
2. Drag & Drop Notes
Noted on Mac is designed so you can easily sort and organise your notes. In addition to right-clicking on a note, hovering over Move, then selecting the desired notebook, you can speed up the process by simply dragging your note from one notebook straight to another in the sidebar.
3. Keyboard Shortcuts
Here’s another useful tip for Mac users, or iPad users with an external keyboard: using keyboard shortcuts can greatly increase your productivity and improve efficiency. And if you think our keyboard shortcuts are limited to cut and paste or undo and redo, prepare to be surprised. Because there’s a plethora of shortcuts hidden inside your keyboard, ranging from save note to seek forward and backward. Discover all our keyboard shortcuts here.
4. Annotate
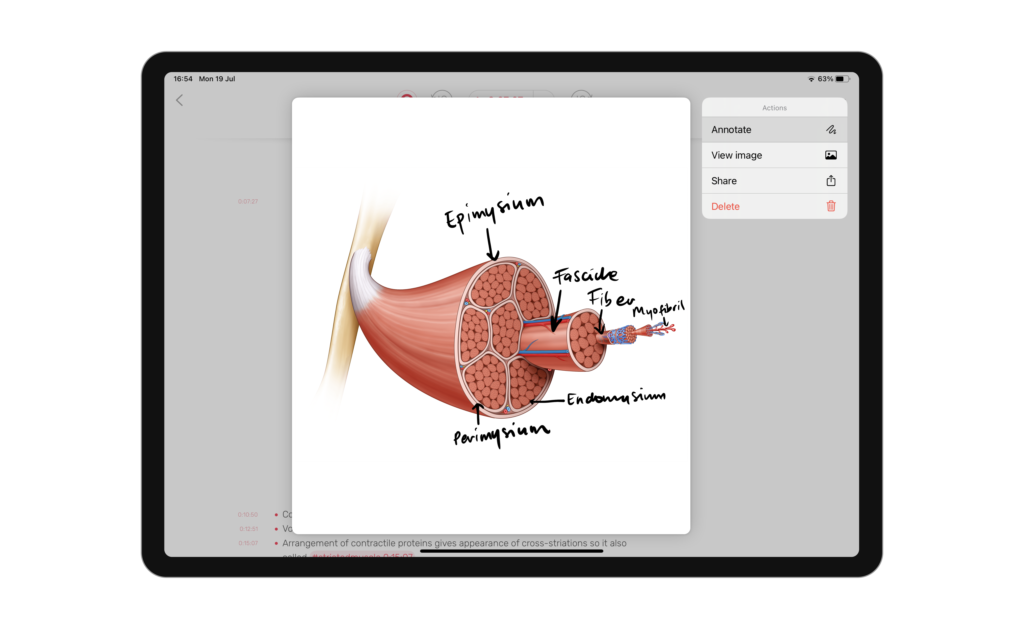
Whether you’re taking a photo of a work document or attaching a selfie to your daily journal, you can go a step further and mark them up to add some context to your snaps. To do this on our iOS app, simply tap and hold on an attached image then select Annotate.

Our iPad app is compatible with Apple Pencil so you can draw an informative label, scribble a comment, or just doodle to your heart’s content.
5. Split View
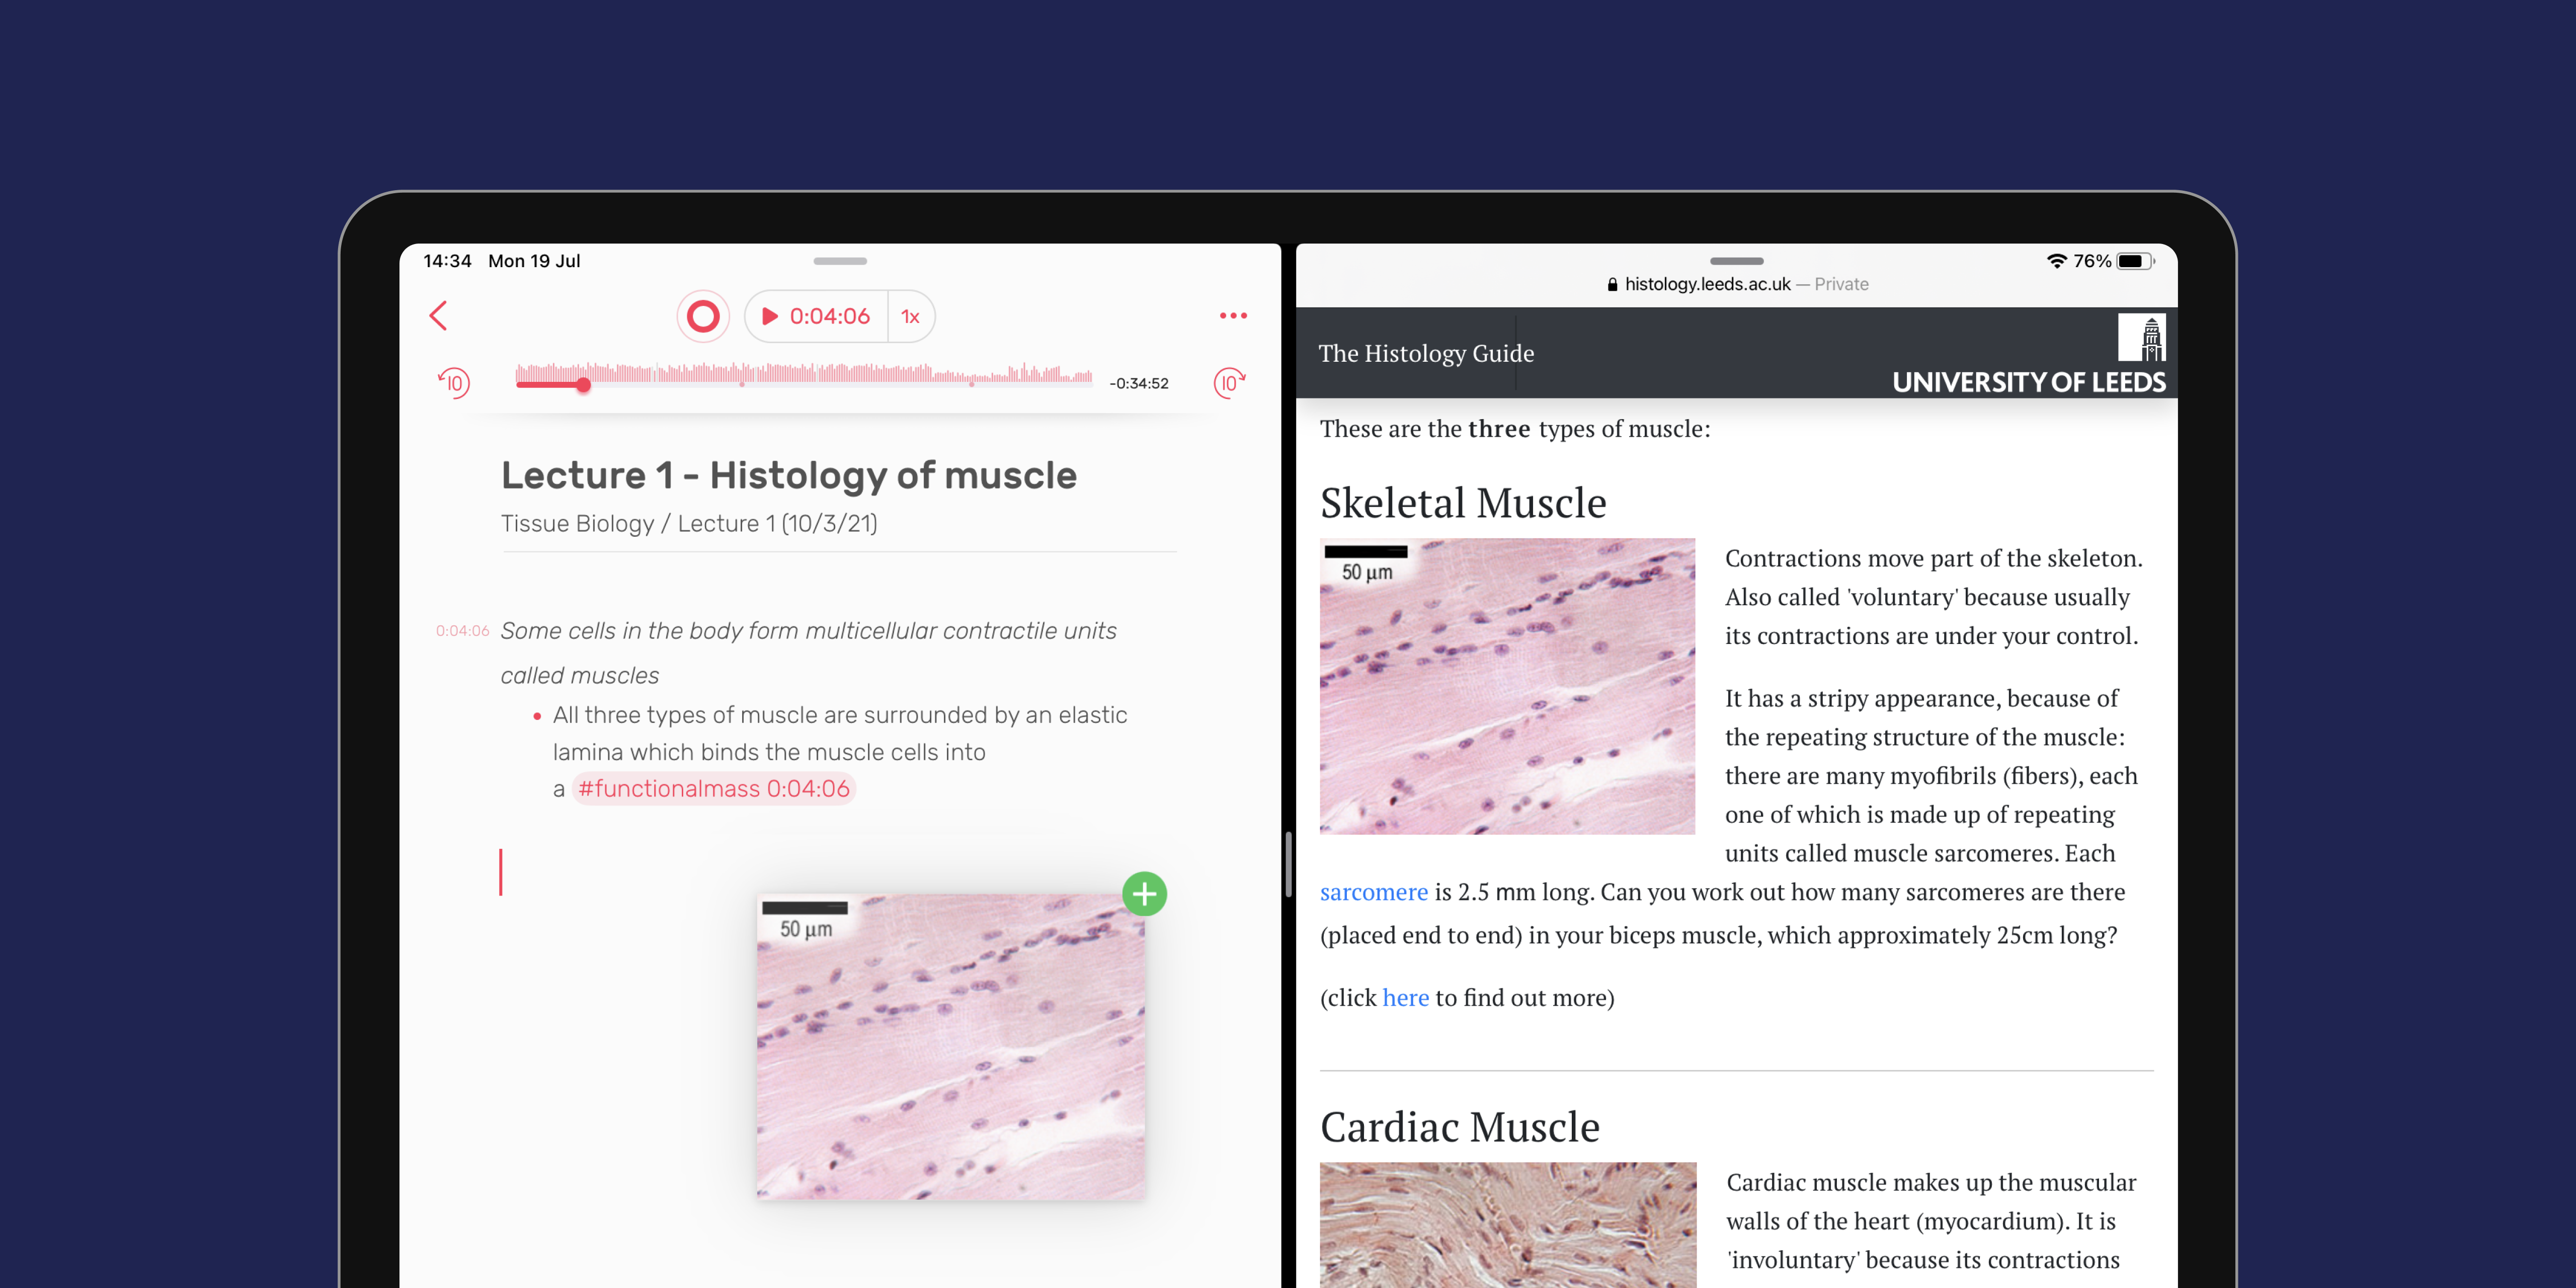
Mastering iPad multitasking will skyrocket your productivity levels. So if you’ve been flipping back and forth between two notes when you need to review them in tandem, here’s one tip you definitely don’t want to miss.
Follow these steps to create a split screen and work on two notes at the same time:
- Open the first note.
- Tap the < icon on the top left to open the Notes column.
- Tap and hold on the second note, then drag it to either side of the screen to form its own window.
Bonus Tip: Dictate “smiley” and see what happens! 🙂
Be a Pro at Using Noted
Did you learn something new? Which tip blew your mind? Let us know on Twitter!
Don’t forget to subscribe to our newsletter, where you’ll learn more note-taking tips just like these – plus the latest news, previews of future updates, and other exclusive content.


